
![]()
![]()
1/20 Treasure Hunt
McLaren MP4/15 Australian G.P.
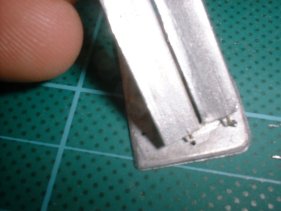
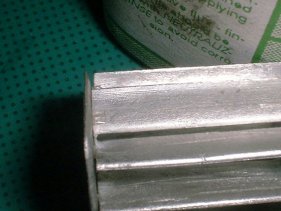
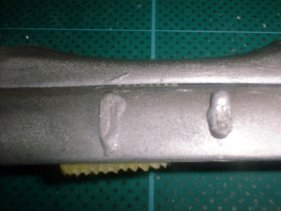
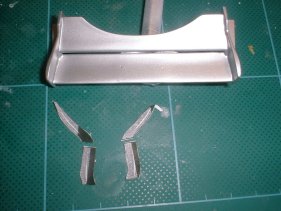
I have cut off all the plugs and inserted some 0.5mm brass rod, then I glued the wing together with a tiny bit of super glue, just enough to hold it.
Next was to cover the hols with solder while the brass pins are still in the old hols..
My plan was when I pull the wing apart the brass pins will stay in the end plates.
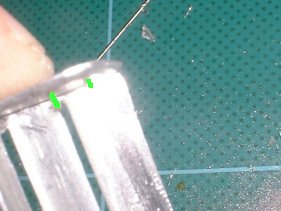
It worked! well, kind of. The pins stayed in some of the hols but it should be fine to work with (the green is the brass pins)
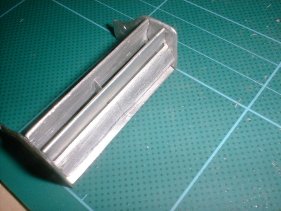
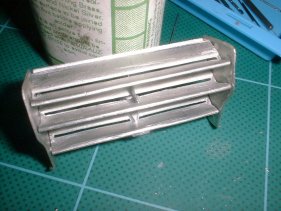
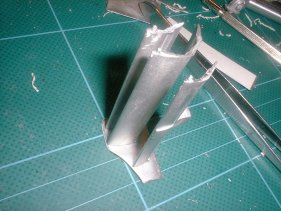
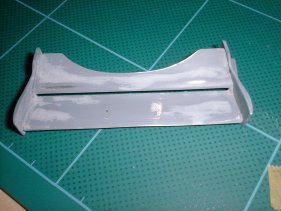
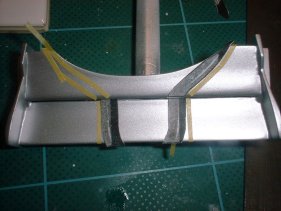
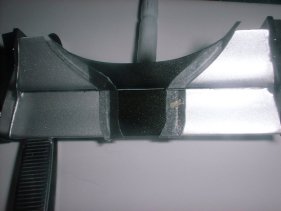
Well it all goes together nicely now it just needs a lot of preparation to get a good smooth finish.
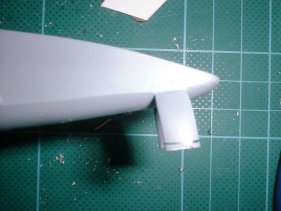
Front wing
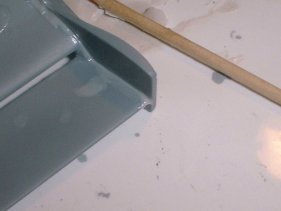
Something I don't like on this king of kit is the way the front wing attaches to the nose it has two big hols in the wing that the nose mounts go through, this is so the nose mounts can be cut to the correct length when the ride height is set. Something I have already done in the pre-build.
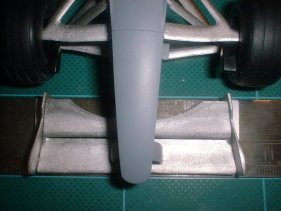
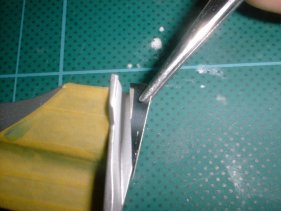
What I have done is set the wing up on a steel ruler and marked on the nose mounts where the top of the wing comes up too. This will be cut with a cutting tool.
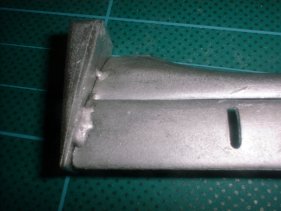
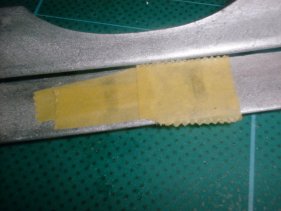
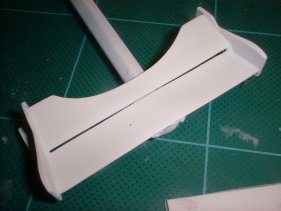
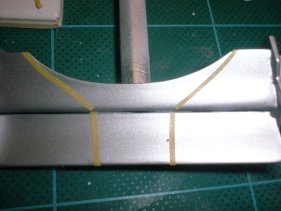
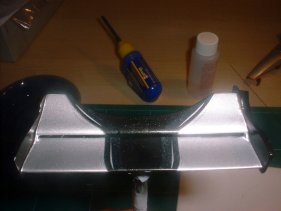
I have soldered the end plates on underneath, this will keep it strong and allow me to fill any gaps, as for the oval hols I have put masking tape over them on the top side of the wing this will make cleaning easier and also make the solder sit flat.
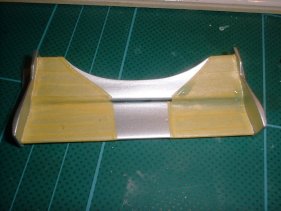
On the left is how the solder will look under the front flap this was sanded off, on the right in how it will look on the top side. some filling and sanding was needed to finish it off.
I had to repeat the filling, sanding and priming process at least six times to get the finish I will be happy with before I could paint it.
After painting the wing silver, I photo copied the decal sheet so they could be used for masking templates. I positioned the paper decals in the correct place and then ran a thin strip of masking tape along the outside, after that the paper decal was removed and more masking tape was ran about 3mm inside the other masking strip so that it was half way inside the decal. (did that make sense?)
It should come out something like this!
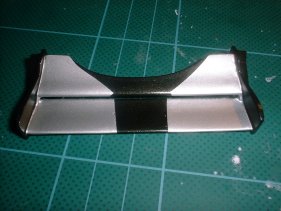
On the left is the wing after the painting of the black area. The right picture shows that the decals will fit perfectly.
I also put on the little aero dynamic wings on the end plates before painting the black. The wing now has the fading decals on with clear on top. I just need to sand the clear to bring it all to one level.
![]() All tobacco marking are not a form advertising
they are there to represent a more exact scale model
All tobacco marking are not a form advertising
they are there to represent a more exact scale model
Best viewed 1024 by 768 pixels Disclaimer
