

![]()
![]()
Applying carbon fiber decals to irregular surfaces
This is a simple guide to applying carbon fiber decals to irregular surfaces, it gives that real look to parts like the brake ducts on a 1/12th McLaren which I will be using.
Things to use
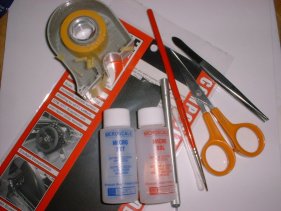
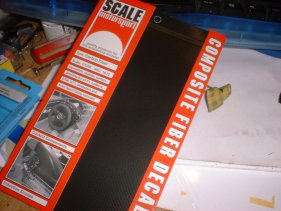
You will need, masking tape, scissors, tweezers, hairdryer, a small brush, a Scale motorsports decal sheet (1/12 in this case), and decal setting solution I use Microscales Micro Set and Micro Sol.
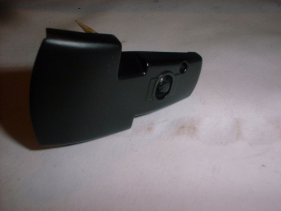
This is the rear brake duct on a Tamiya 1/12 McLaren MP4/6 that will be covered in carbon fiber. To begin with I painted it Semi Gloss Black and washed it once it was dry.

The masking is done next, stick it to a plastic sheet and cut it into strips, then carefully apply the tape to the brake duct, try and apply the tape so it can be laid flat once it is pealed off .
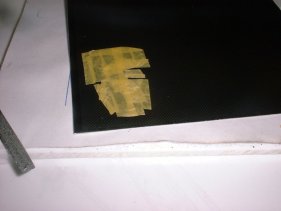
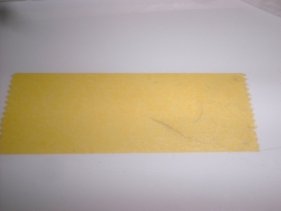
Next remove the decal sheet from the packet and decide which direction the strips will go. Now carefully remove the masking tape in one piece and lay it onto the decal sheet. Then cut it out with scissors and the knife and remove the tape (be careful not to pull the decal off when doing this)

Once the decal is ready dunk it in warm water. While you wait, it can take a while it is a good idea to put some more decals on where the main decal won't cover.
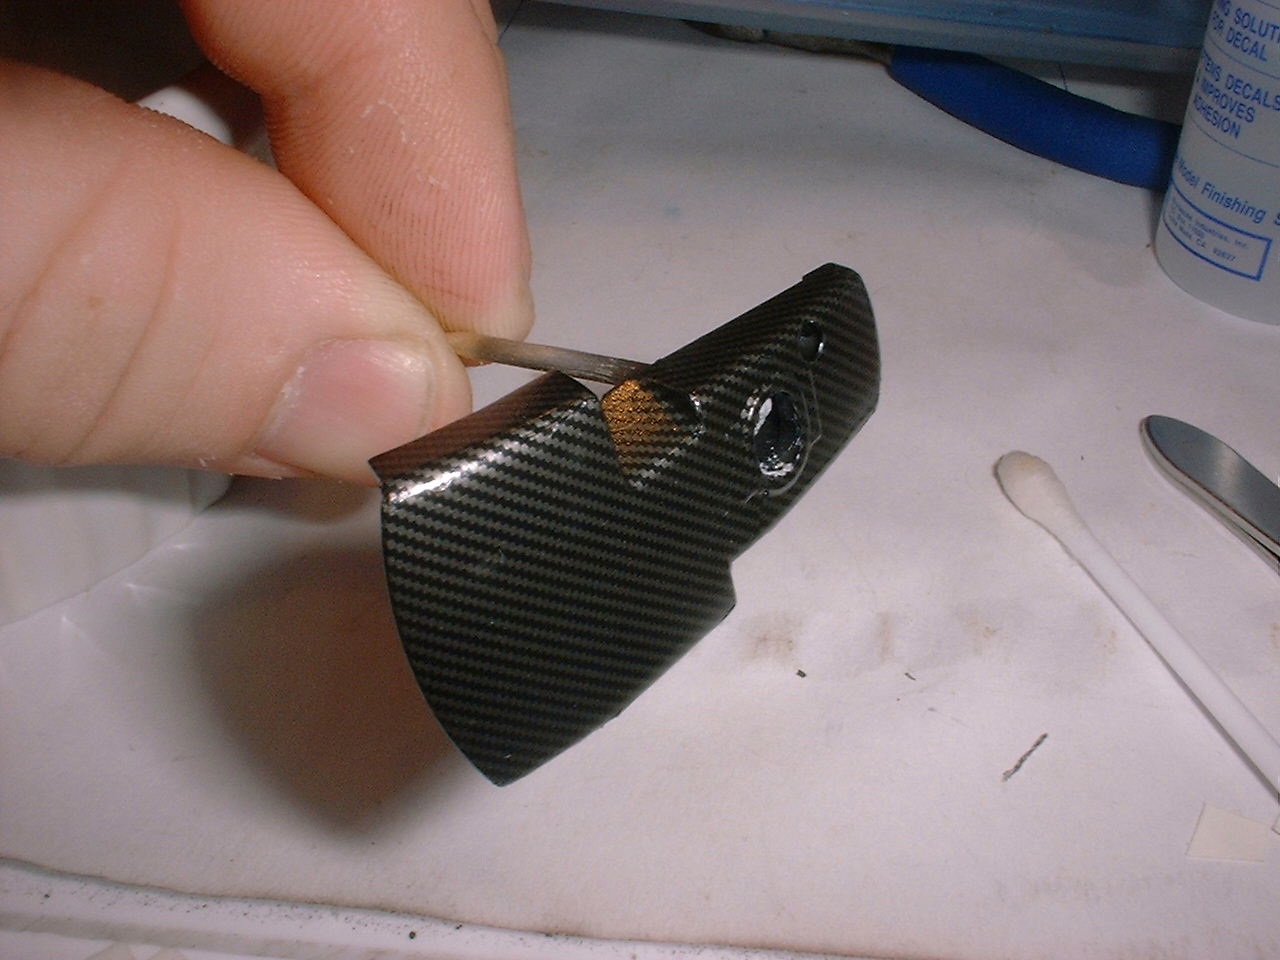
The hard part! Put some setting solution over the part and slowly slide the decal over the part, once its in place cover it with more solution over the decal ( I recommend Micro Sol it's stronger ) leave it for a few minutes, once the decal is soft warm it with the hairdryer for a few seconds and press it down with a Q tip gently starting from the center outwards. You will need to keep putting decal solution on and until its stuck down on all the edges.
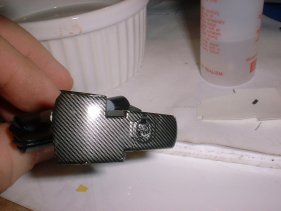
It should look something like this! Click to enlarge Picture.
![]() All tobacco marking are not a form advertising
they are there to represent a more exact scale model
All tobacco marking are not a form advertising
they are there to represent a more exact scale model
Best viewed 1024 by 768 pixels Disclaimer
