![]()
![]()
Masking
How to mask them awkward parts like dashboards, and all in one brake calipers and disks.
What you need!
Airbrush, Masking tape( I use Tamiya), Liquid mask, there are many kinds to use but I prefer Revell color stop.
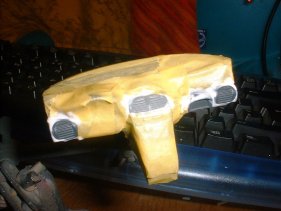
Step 1 The basecoat

To start with clean up and wash, the part you want to mask. And then paint it in the base colour, in my case its Light sea grey XF-25. Then leave it to fully dry. This will also act as a base coat, Note! you may wish to use a proper primer, it depends on the part.
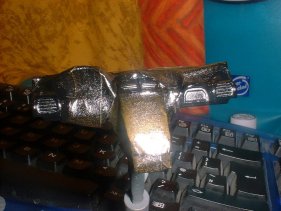
Step2 The masking
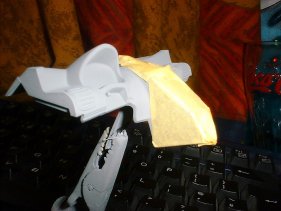
Apply the masking tape, as close to line that's to be masked
as possible, don't try to mask the fiddly bits, that's what the liquid mask is
for.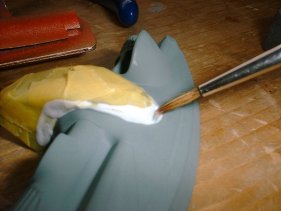
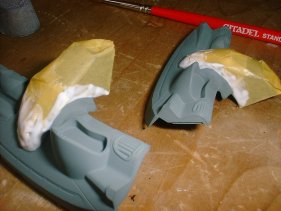
When that is done, start to apply with a brush, the liquid mask around the edge's that can't be done with masking tape. Be careful not to paint where it's not suppose to be masked, Because 1, I don't know how to remove it, and 2, some types cant be seen when it dry, and it ruins the outcome.
Leave it to fully dry before painting!
Step 3 The second coat
When spraying over the masking, try to put the paint on thinly, near the edge's of the masked area, it will save you from having to go through the problems of the paint cracking. Sometimes this this can't be helped depending on the paint.
I have been told at this point, to remove the masking as soon as its painted, but I let it dry first.
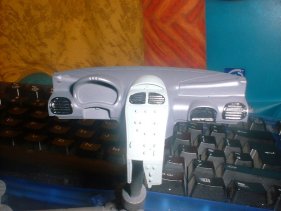
Step 4 Removing the mask
Be careful when removing the mask, so not to damage the paint, this can take a lot of practice, sometimes it needs touching up with a brush.
At this point I clear coat the whole part. In this case it will be matt clear and then leave it to dry, The clear coat will protect the rest of the paint when I mask for the last colour.
Step5 Masking for the last colour.
Now the clear coat is dry, I mask in the same way as before, ready to paint the air vent's.
Note! Depending on how many colour's the part needs, will be the amount of masking stage's need to do a part, But I recommend clear coating every two or three colour's that are applied.
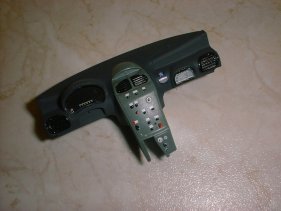
Step 6 The last stage
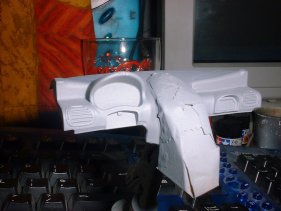
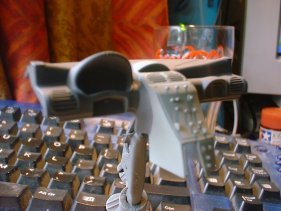
Once the masking has been removed, just touch up flaky paint with a paint brush and put on the decals, and 1 more clear coat and you should have a nice tidy finish.
The finished piece.
![]() All tobacco marking are not a form advertising
they are there to represent a more exact scale model
All tobacco marking are not a form advertising
they are there to represent a more exact scale model
Best viewed 1024 by 768 pixels Disclaimer
