![]()
![]()
1/24 Tamiya
Peugeot 206 WRC 2000
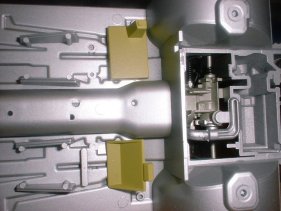
Construction has started on the underside! All the parts are very time consuming to paint especially when you try to airbrush all the different colours.
The shock absorber's was difficult to paint, I sprayed it semi gloss black first then detail painted with a brush.

The under side is now finished! it was painted in enamel mate clear, Because I did not want the underneath to be to shiny.
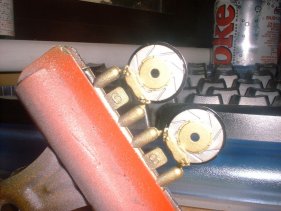
I will leave the skid plates clear, so all the parts can still be seen. The brakes will be put on later I want to take my time with them because they can be seen through the wheels!
My spray booth is home made, With 3 speed fans, It works a treat :o) Inside is the 206 seats and the underside.
Look at the mess!
Time to start work on the top of the floor pan, From this point each part will be clear coated separately, Either with gloss or mate the two yellow/green parts are coated in matt clear.
I have just received some liquid mask, I can do the brake disks now.
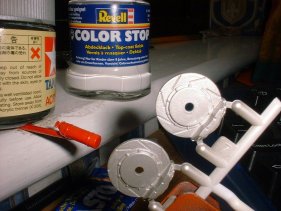
Step 1
First airbrush all of the disk unit in Titanium silver, And then paint the liquid mask on the disk it self with a brush. (Do a thick layer of mask)
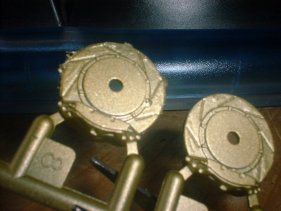
Step 2
Airbrush gold onto the disk unit, and let it dry for a few hours.
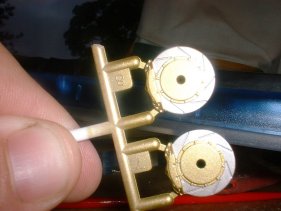
Step 3
Remove the liquid mask and then its done, much better than using a brush don't you think!
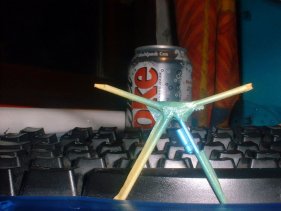
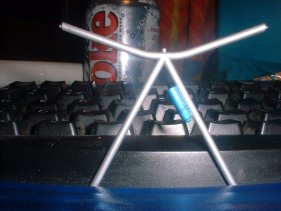
The cylinder on the roll cage has been masked, using tape and liquid mask, and then clear blue was airbrushed on to it.

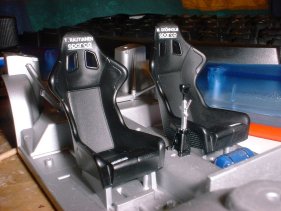
On the left, is some kind of cylinder, I don't know what it's for. And on the right are the seats, plenty of decal fix was needed to put the decals on. The seat belts are after market items I won't do them until the roll cage is complete.
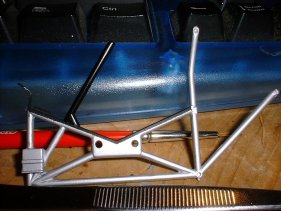
After almost 3 months, the side's of the roll cage is near completion, I just need to paint the electronic box's.
Wow! I am very happy with this now it's been test fitted. I could not have wanted it to turn out as good as this, for a first attempt at modifying a kit.
I could not decide on wither or not to have the P.E. sun visor up or down, I decided that if there up you can't see them, I will put them down.
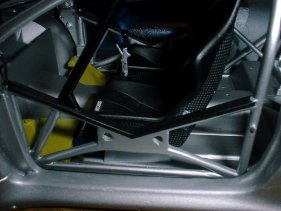
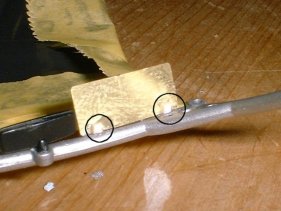
There are no fitting points for them, I made some with square pieces of styrene sheet that I cut up, ( circled in the picture ) This made the joint much stronger than just gluing it strait on. The front of the roll bar was then painted Tamiya XF1 Flat Black with a mat clear coat.
![]() All tobacco marking are not a form advertising
they are there to represent a more exact scale model
All tobacco marking are not a form advertising
they are there to represent a more exact scale model
Best viewed 1024 by 768 pixels Disclaimer
