

![]()
![]()
1/20 Tamiya
Mclaren MP4/13 (press and test)
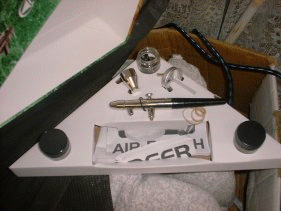
New airbrush im hoping this will help me get a perfect finish, We will see!
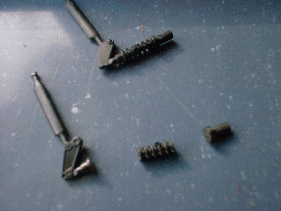
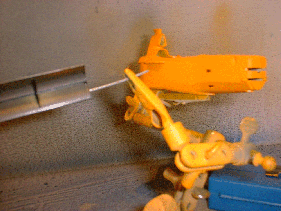
Its time to detail the shocks! I do this on all my models due to the fact the standard shocks are crap! To do this I remove the molded spring with a knife and insert a 2mm pin, Then wrap a thin wire around a 3or4mm bar and replace the end cap.
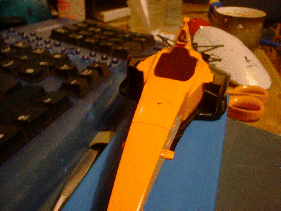
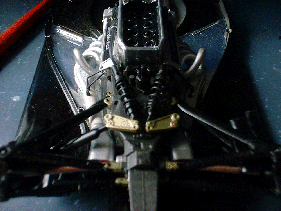
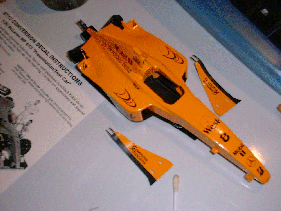
I have finally managed to repair the damage to the cockpit and get a good finish! One more coat of paint should do. I also started on the rear wing by applying carbon fiber. I will build this up when the clear coat is dry.
The rear wing drying with the cockpit.
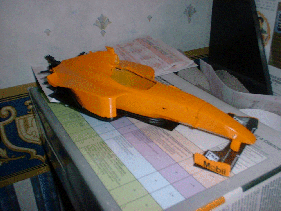
Test fitting is important when painting! The more coats the bigger the model gets and things don't fit which was one of the problems I had on this, Things are much better now!
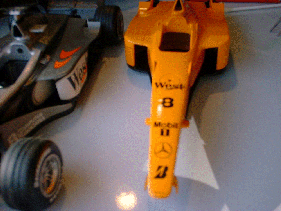
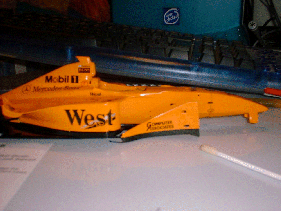
Decals! I didn't think I would get there for saying how many times the body went wrong (4 resprays!) For the decals I followed the instructions and photos, I also used my other mp 4/13 to help line them up. Thanks to F1 specialties who sent the reference photos by e-mail
Things are going well now! Im starting to lose interest in this now! Lucky all the detail work is complete, The decal work has only taken me 3 hours with no problems at all.
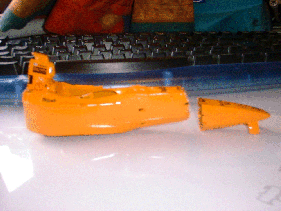
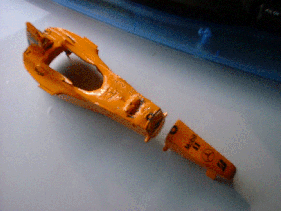
Last night i put some things in the oven for a few hours they where fine! Just put this in and it melted in 1 minutes R.I.P
I will order some new decals and redo it in the next month or two
![]() All tobacco marking are not a form advertising
they are there to represent a more exact scale model
All tobacco marking are not a form advertising
they are there to represent a more exact scale model
Best viewed 1024 by 768 pixels Disclaimer
