![]()
![]()
Tamiya McLaren MP4/6 1/12
Well after a few months of model making, It's time to make a 1/12 kit. They have loads of detail and seem really cool!
So which kit should I make? I found myself thinking, should it be a Ferrari, Williams FW14?. Since I'm a big Ayrton Senna Fan I should make his third championship winning car the McLaren Honda MP4/6.
My first idea was to make a high detailed (well as far as my skill will allow) car for display, that I can take the top off to show the inside and also have it with the top on. this idea quickly went when the kit arrived, Its massive and so much detail I could not believe it, I new I was going to have to make two. One with the wheels off and the engine on show, This will show off all the detail and extra bits that I will be adding , and the other next to it with the wheels and top on like it would look just before it would be driven. This will be a year long side project.
Ok the first thing I did was to get reference photos, and then have a good look at Mario Covalski Modelers site . He has a very good write up on his excellent kit with loads of added detail, this gave me loads of ideas on what to do with mine, I also sent him some E-mails for advise which he promptly replied as usual. Please visit his site its very good for all kinds of models.
The start
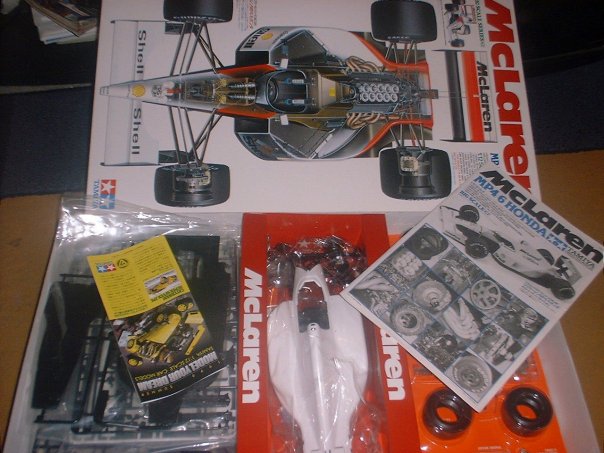
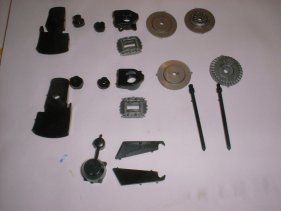
The contents: 11 plastic sprues, metal suspension parts, real rubber tyres, assorted screws and screw driver. There are allsorts of other parts too but lets get moving!
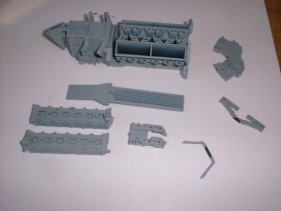
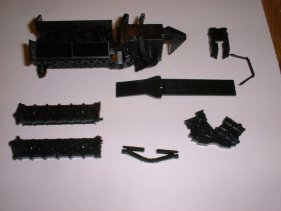
For this kit I'm going to follow the instructions in order, on other kits I'm all over the place, It starts with the Engine assembly, I cleaned and primed all the part from sections 1 to 4. The engine is a nice piece of work I don't know how they did it.
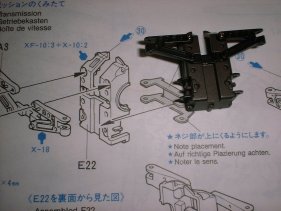

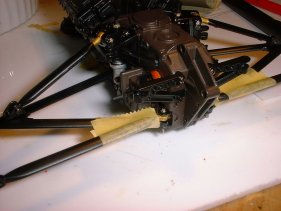
The next thing once the gear box was painted in the correct colour is to screw the rear suspension mounts to the back of the box (see left picture) then glue it onto the gear box. NOTE: the part is a very tight fit so be careful.
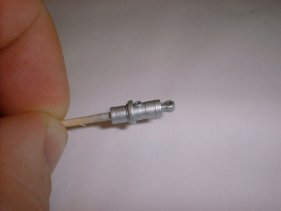
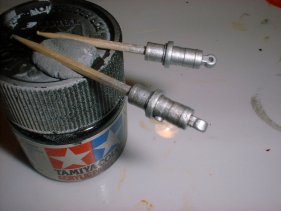
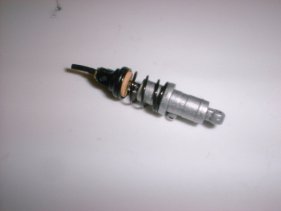
Once the engine was painted I started on the rear shockers, on the main housing it was painted in XF-16, on the left you can see it was a bit shiny! I applied thinned out smoke X-19 to dull the shin and pick out the detail, it can be seen on the middle picture the difference. On the rod I chrome plated it using aclade II, I also put on a rubber boot ready for the wiring.
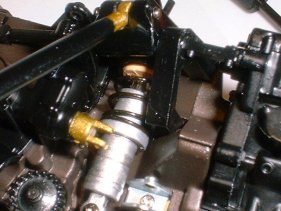
On the left, is the shocker fitted to the engine and the suspension, I feel the X-12 gold on the suspension arms is to strong a gold, I may dull them down. I will look at others work to see what there's are like.

At this point I need to paint and build the rear rotors and brakes, I primed all the parts (left) gray and painted the rear brake ducts semi gloss black. I was still waiting for some 1/12 Carbon fiber decals to come from GPM and then my new mate Dan came to the rescue and he sent some to me. See how it was applied in the hints section.
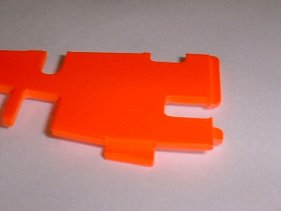
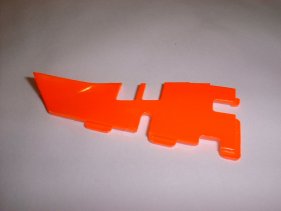
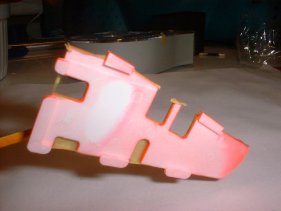
I had some problems getting some paint for the red on this car, unfortunately I had to use what Tamiya recommend, last time I used it, it was a nightmare, I decided to empty the can and airbrush it on. much better and it lasts forever.
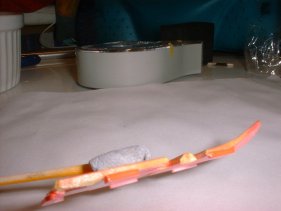
The back also need to be painted in semi gloss black I had to be careful not to get black onto the red, I sprayed four light coats and it worked a treat. The thing about been a new comer to this is I'm none stop learning little tricks....and making loads of mistakes too.
![]() All tobacco marking are not a form advertising
they are there to represent a more exact scale model
All tobacco marking are not a form advertising
they are there to represent a more exact scale model
Best viewed 1024 by 768 pixels Disclaimer
