
![]()
![]()
1/20 Tamiya
Ferrari F2001
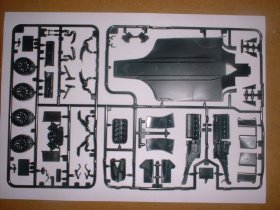
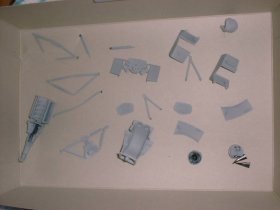
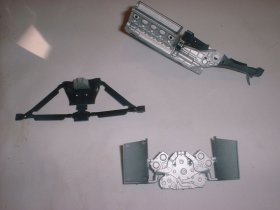
Here are the contents of the E sprue, It's a good time to start the under tray! I need to keep on moving so I can get it done in a hurry.

Here are the parts for the floor pan, This is also the engine block not much to see yet.
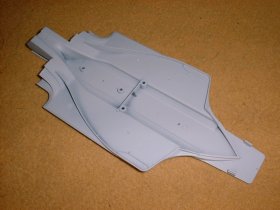
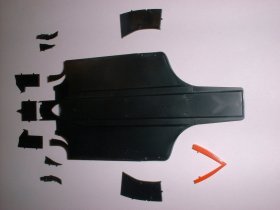
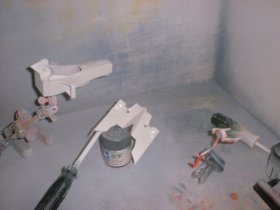
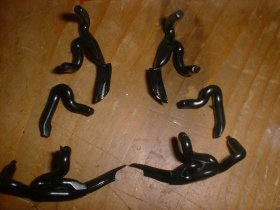
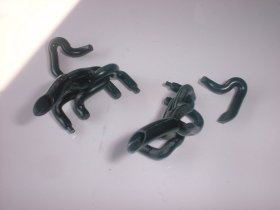
I glued the parts on the floor pan together I chose to leave parts: D6, D5, D11, D12, this made it much easier to fill and paint. The filling was done with thinned out filler. On the right pictures are some suspension and engine parts after priming.
More filling and sanding on the monocoque and rear cowl.
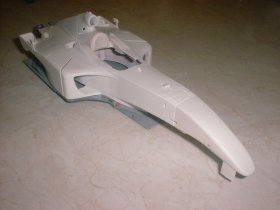
Finely the proper priming is done. It was good to see it turn out flawlessly.
I decided to paint all the engine parts in semi gloss black first, then I masked the correct black areas using masking tape and liquid masking gel, after 30 minutes I painted on the XF-16. Tip: if all the masking gel does not come off right away, carefully wash it with a tooth brush.
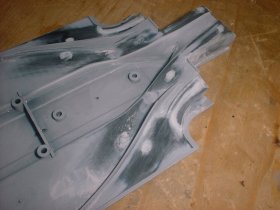
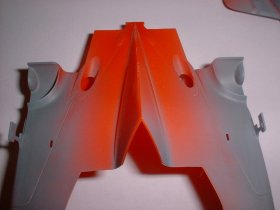
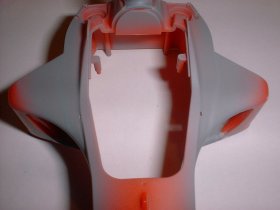
Filling the gaps and injection marks on the floor pan was a tedious job I could not seem to get it right, after several attempts it was done, I then gave it a coat white primer ready for the red paint where it fades to black. (This should be a decal but it looks rubbish because dots are used for the fading effect)
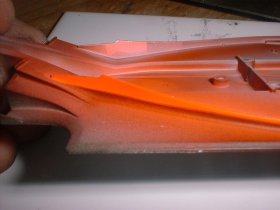
This is how it looks so far I need to add more black once I have masked the red paint.
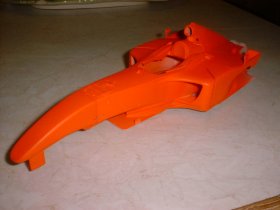
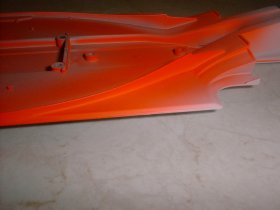
This is the BBR Procar Ferrari fluorescent red, it is matt paint, so clear will be needed to get it to shine. I was please when it went on perfect for a change, it only needed a small polish.
![]()
![]()
These are the main body parts five minutes after the first coat of clear. I will polish this up to #12000 with my micromesh cloths before apply the decals. I will paint the black areas after the decals and top coats of clear have been done, that way the will be semi gloss and not gloss.
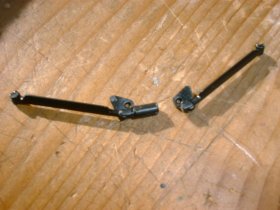
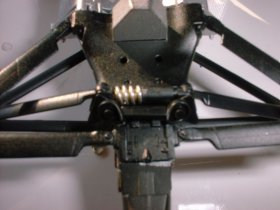
Once again the kit comes with a very dodgy suspension arm. ( I don't think there are any ways round this for Tamiya) I will fix this in the usual way by removing the moulded spring and replacing it with brass tubes and a spring. See right picture!
The exhaust on this kit is very nice and consist of 3 parts and a little filling will be needed on the exit pipe.
![]() All tobacco marking are not a form advertising
they are there to represent a more exact scale model
All tobacco marking are not a form advertising
they are there to represent a more exact scale model
Best viewed 1024 by 768 pixels Disclaimer
