
![]()
![]()
1/20 Tamiya
Ferrari F2001
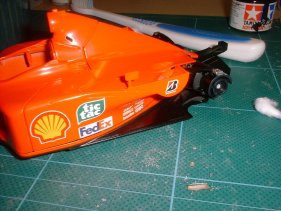
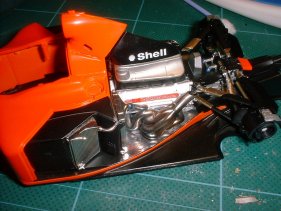
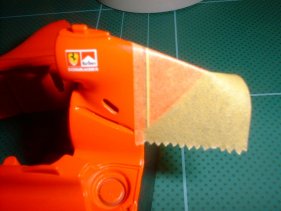
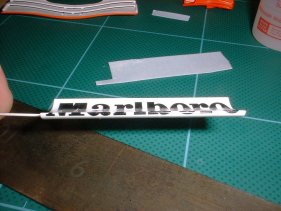
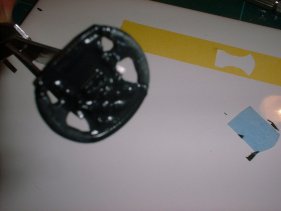
Just testing the engine cover, It fits much better than the F1-2000 which was to tight. Where are the Marlboro decal?
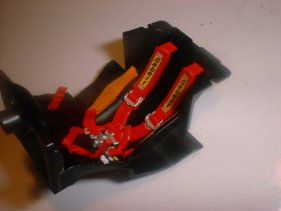
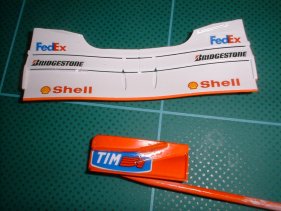
I have used the kits harness to see if it was any good, It's not to bad after market ones are still better but its a 100% improvement on the old YUK!!! decals.
Getting there!
![]()
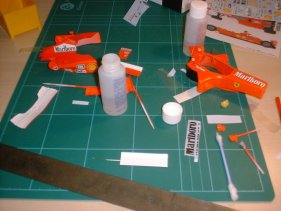
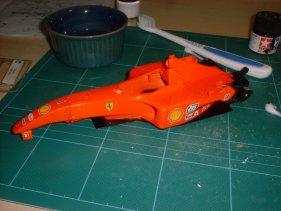
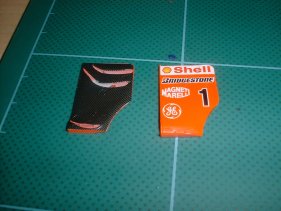
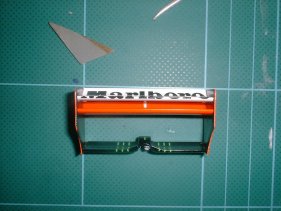
I have purchased some Hi-tech decals from HLJ there are enough decals to do two cars, I also have the 2002 season decal for when I make another F2001.
 .
.
As it is the first time I have use Hi-tech decals I can forgive myself for getting it wrong. You have to be very careful when lifting the carrier film from the paint otherwise the decal will come off with it.
![]()
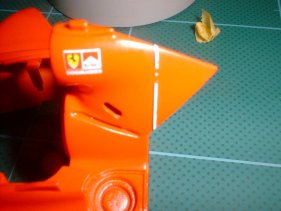
The decals are very nice when they are on!

For the front wing I painted the Horizontal elements in white and then painted a thin red strip, I clear coated it before applying the decals. The end plate were done in the same way.
On the rear wing I painted all the parts separate it makes things much more easy, CF decals were applied for the inside of the end plates. I thought this would be better than plain black.
Once the decals were on it was very easy to put it together!
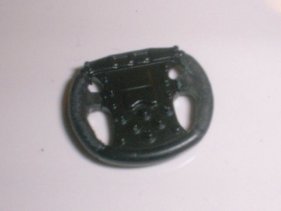
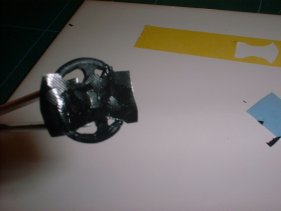
Before fitting the seat I made the stirring wheel, to start with I lightly sanded the hand grips to give a suede effect next I put a peace of CF decal on it and covered it in Micro sol and left it for 5 minutes.
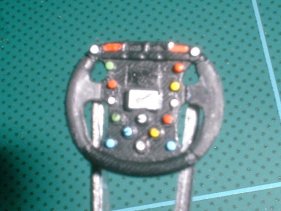
Next, was to heat it up a little and carefully press it down. It is recommended to cut a cross over each button next. Then repeat the first steps until it is flat on the surface.
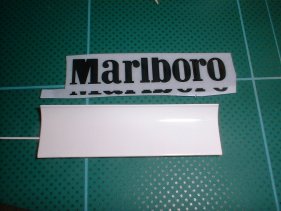
![]() All tobacco marking are not a form advertising
they are there to represent a more exact scale model
All tobacco marking are not a form advertising
they are there to represent a more exact scale model
Best viewed 1024 by 768 pixels Disclaimer
