![]()
![]()
1/24 Tamiya
Peugeot 206 WRC 2000
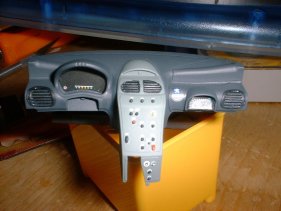
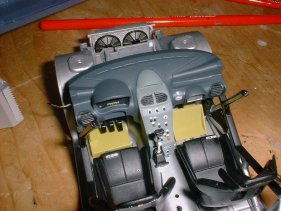
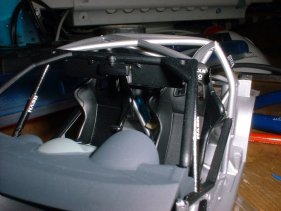
Finally I have done the dashboard, it was painted several times to get the colours right it was all done by Airbrush, apart from the buttons that were hand painted with games workshop paints (amazing for hand painting). I also cut up an old decal and used for the labels above the buttons gives a more realistic look. For more info see the "masking" under hints & tips section
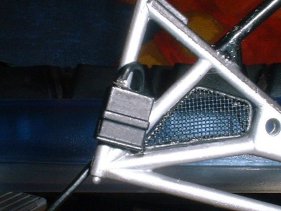
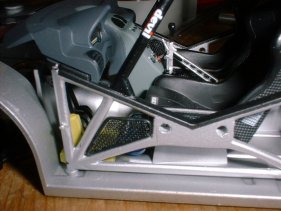
Some wires have been put into the box on the roll cage before fitting. I put the spare wheel on its rack and then I put on the right side of the roll cage in, I also had to glue the dashboard again.
The next steps are how I made the wheels!
Step 1
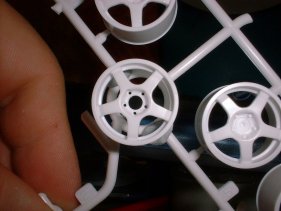
First the hole's where drilled out on the spare wheel, and then I sprayed them all in Flat White XF2, on the wheels I don't use primer because of the work involved with preparing it, Flat White is fine for the gloss paint to stick to and less work is needed to get a smooth finish. (I recommend proper primer on main parts such as the body and wings, its much stronger and less chance of chips).
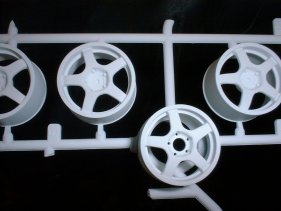
When the flat white is fully dried, gloss white is the applied. then I check it alright with no blemishes. If the wheels are metallic put clear coat over the top next.
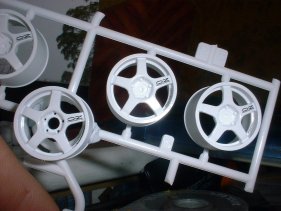
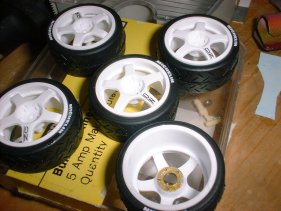
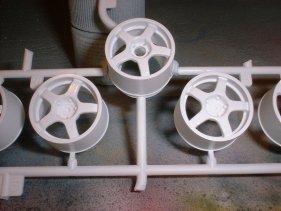
When the wheels are satisfactory apply the decals and put on the tires, then clear coat the whole lot including the tires.
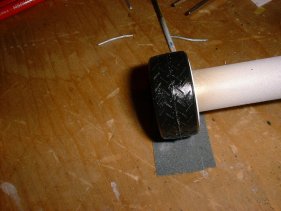

Leave the wheels over night and then put the wheel on a rotary tool and sand the tread, this take the shine off the tread it gives a slight worn look.
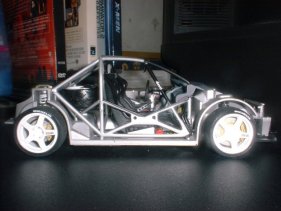
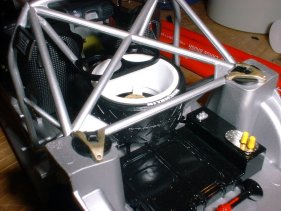
. Now the roll cage is complete, the brakes and wheels on I just need to do the seat belts, now where's the blue ribbon?
![]() All tobacco marking are not a form advertising
they are there to represent a more exact scale model
All tobacco marking are not a form advertising
they are there to represent a more exact scale model
Best viewed 1024 by 768 pixels Disclaimer
